Beauty Tech, Face, Reviews, Tools
Review: Dinair Personal Pro Airbrush Kit
[cf-shortcode plugin=”acf” field=”press_sample”]
Even though I am most definitely not a professional makeup artist, I’ve been thinking off and on for a couple years about getting an airbrush kit. I mean, it just seems like the height of badassery in makeup, right? That’s a sign of serious addiction dedication right there. Before I was able to make up my mind on one, Dinair offered to send a kit for review, which made the decision process simple. Ummm, yes please!
What you get
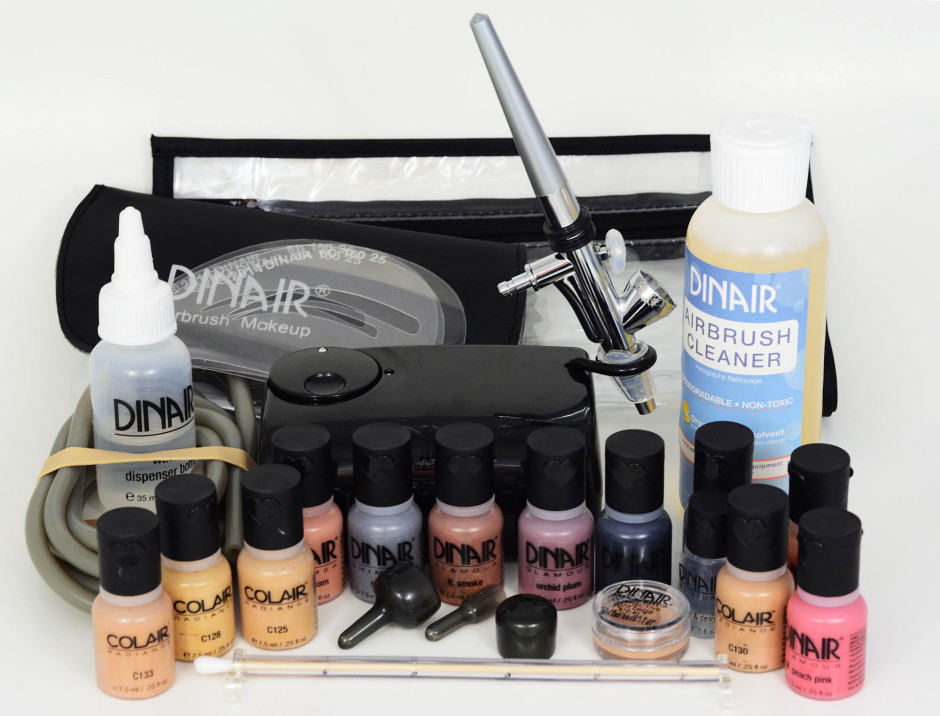
I got the Personal Pro Kit to try out. With that one you get to pick a ‘package’ of colors based on your shade; I got the colors in the Medium shade range, plus a few extra shades (they pretty frequently run specials w/extra colors). The compressor comes in a bunch of colors and few patterns, but being me, I chose… yup, black. I was surprised at the amount of other stuff in there, though – I felt like I just kept pulling stuff out of a magician’s hat.
Basics –
- Compressor
- Airbrush pen
- Rubber tube (to connect the airbrush to the compressor, natch)
- Power cord
Foundations –
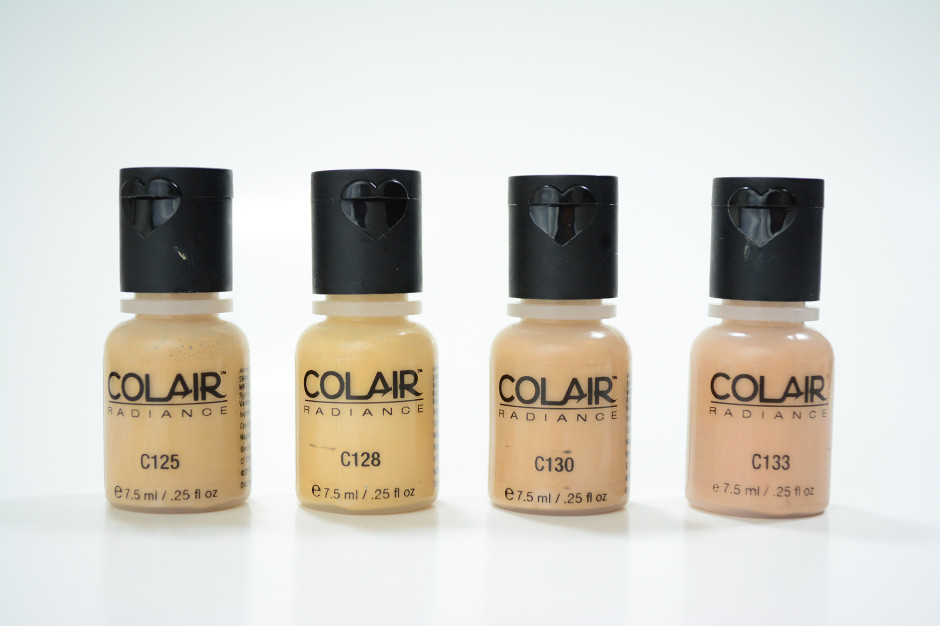
- C125
- C128
- C130
- C133
- Concealer in Light Beige
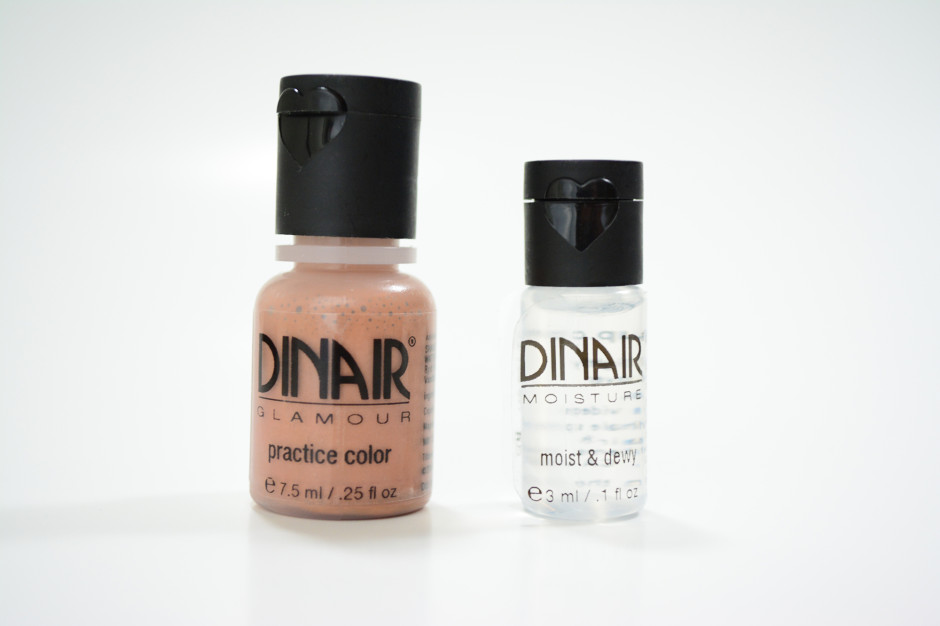
- Moist & Dewy (to add glow)
Colors –
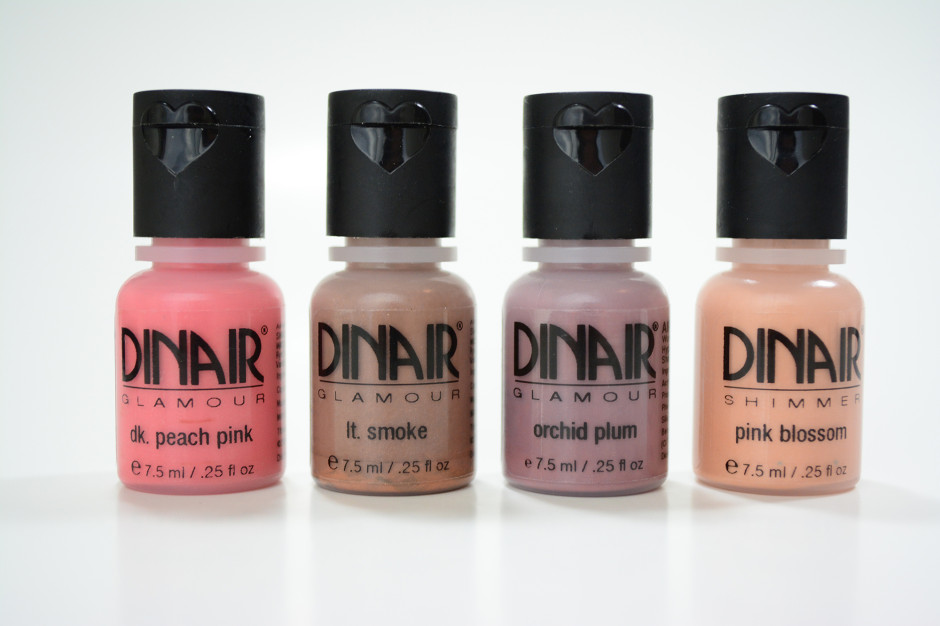
- Dark Peach Pink
- Light Smoke
- Orchid Plum
- Pink Blossom
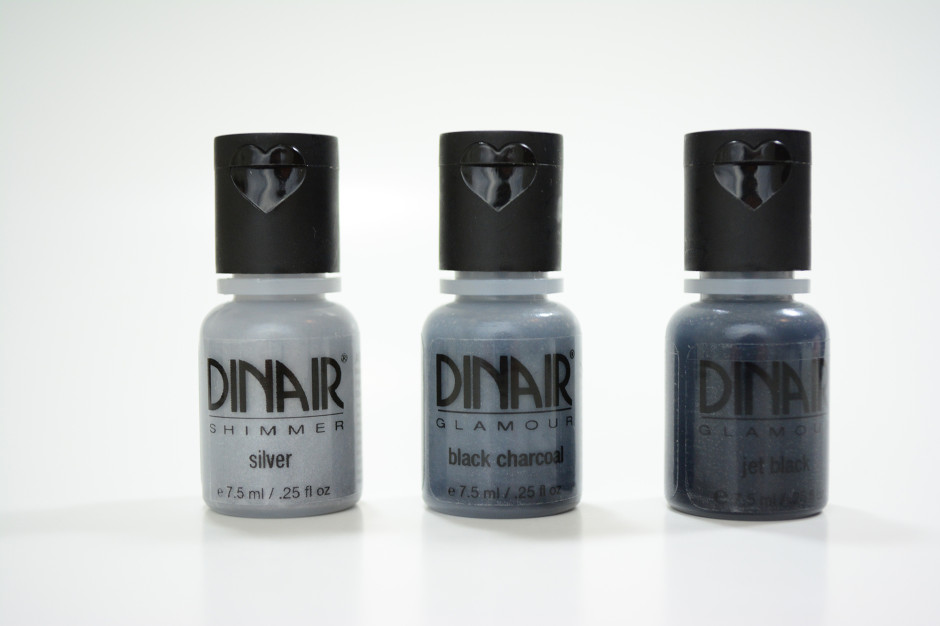
- Silver
- Black Charcoal
- Jet Black
Pieces & Parts –
- Bag to hold everything
- Pouch for the airbrush
- Distance guide
- Cleaning caps
- Spill cap (it has a hole in the top so you can put it on while spraying, so you don’t slosh everywhere)
- Brow stencils
- Water dispenser bottle
- Cleaning solution
Educational Materials –
- Instructional DVD (I admit I didn’t watch it, because my laptop doesn’t have an optical drive and I had already watched a bunch of videos online)
- Practice sheet
- Face charts
- How-to guide
- Practice color (so you don’t waste your foundations trying to get the hang of it)
- Coupon for $5 off your next purchase
Colors
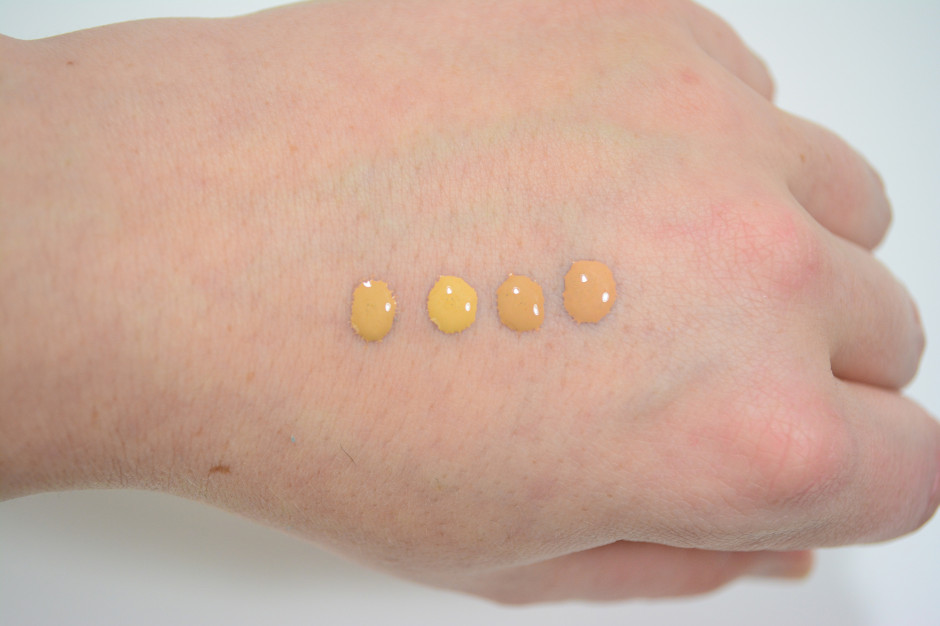
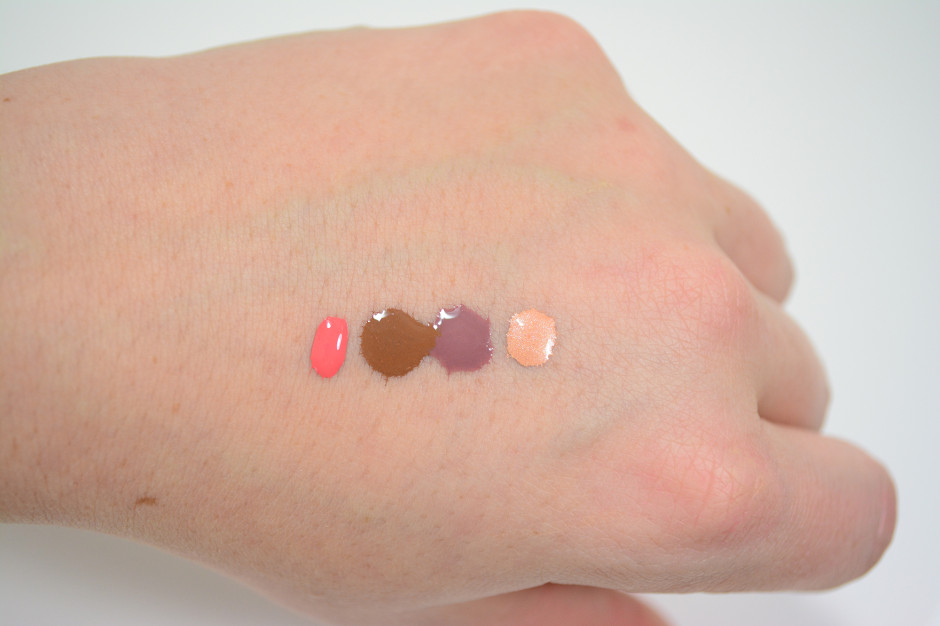
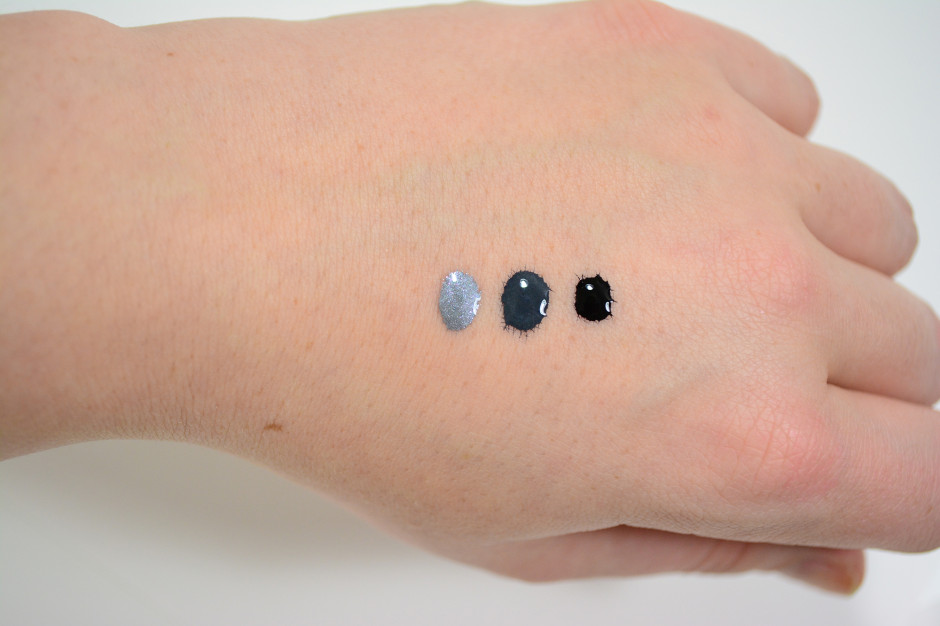
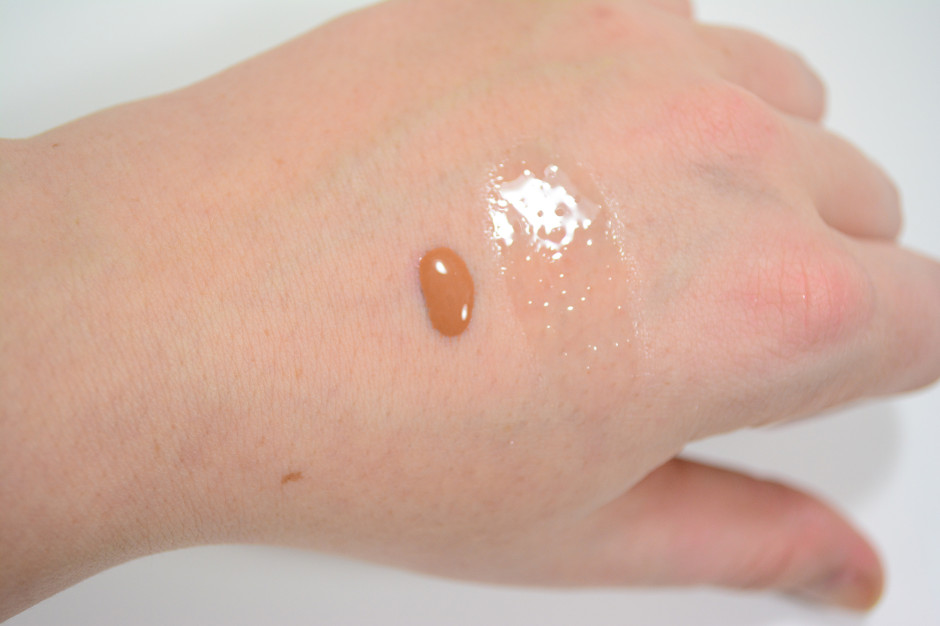
The kit comes with a pretty good number of shades – four foundations that you can mix, and the default kit comes with four additional colors you can use as blush, eyeshadow, or eyeliner. Or whatever you want, actually, feel free to go nuts. I picked the Medium kit since I normally fall into the middle of most foundation shade ranges. The C125 shade is actually a pretty good match when I apply it, but I quickly learned that this foundation oxidizes a little bit on me. Result: they all ended up being a smidge too dark. Dinair does have a pretty extensive color-matching service, which I didn’t go through. Perhaps I should have.
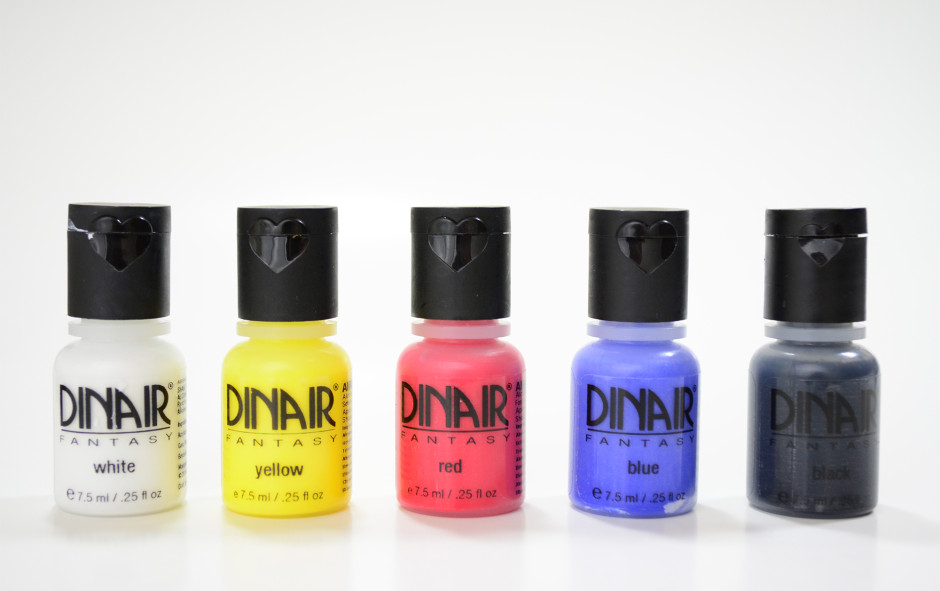
The beautiful thing about airbrush makeup though is that you can mix colors to your heart’s content, so I hopped online to get a bottle of pure white to lighten up the foundation. Browsing around I ended up seeing the Designer Primary Kit, which has the primary colors plus white and black, and that’s the one that made it into my cart. I feel good about that decision because it means I can now mix literally any color I want. Maybe some blue and yellow to make a green neutralizer on days when my face is a little red, or a mish-mash of red and white with just a drop of blue for a purple-y blush. The possibilities are endless, which means I am not going to swatch every possible combination here. But we can go ahead and do unmixed swatches.
Foundations –
Glamour and Shimmer colors –
Practice color and Moist & Dewy –
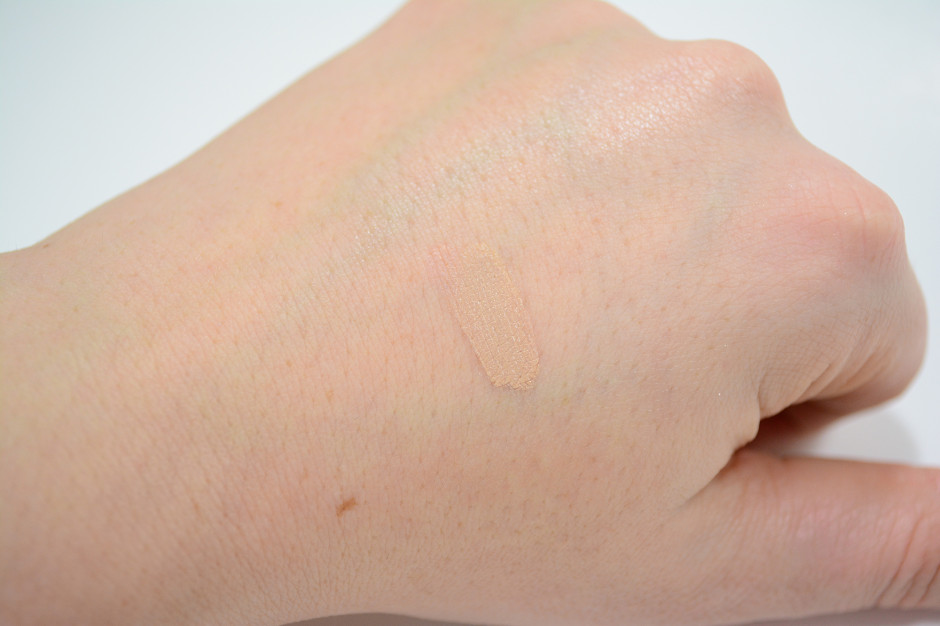
Concealer (which is actually a really good match for me) –
Designer Primaries Collection –
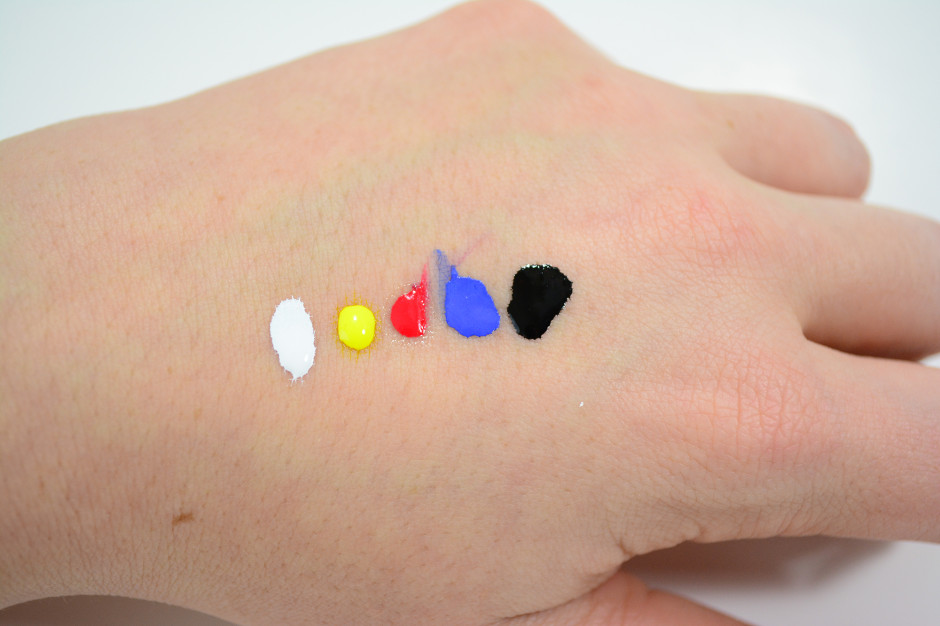 As a side note: I’ve heard of people using other brands of water-based airbrush makeup in the Dinair kit, though I don’t know if it’s recommended. It’s pretty nice to have that option, as opposed to some other airbrush systems that have proprietary pods.
Use, Application & Wear
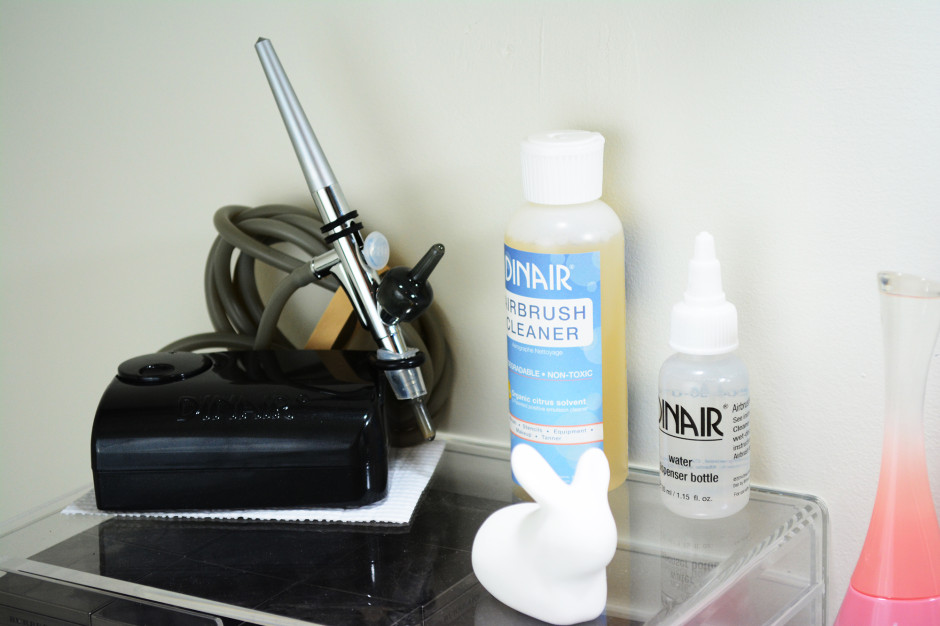
The compressor itself is much more compact than I expected it to be – just about 2.5×4 inches, plus whatever room the hose takes up. Surprisingly quiet, too. I won’t go into too much detail about how to operate it because that would be an awful lot of words, but I’ll do a video on it soon. The short version is – start by attaching the hose to the compressor and the airbrush. To start it up all you have to do is press the really big button in the corner (pretty sure you could have figured that out yourself), and rotate it to increase or decrease the air pressure. The color goes in the little cup on the top of the airbrush, and you pull back the lever to spray out the product. You’ll notice I have a bit of shelf liner underneath the compressor; that’s because it has a tendency to walk itself around when it’s turned on, so I put that there to keep it from dancing off the edge of the table.
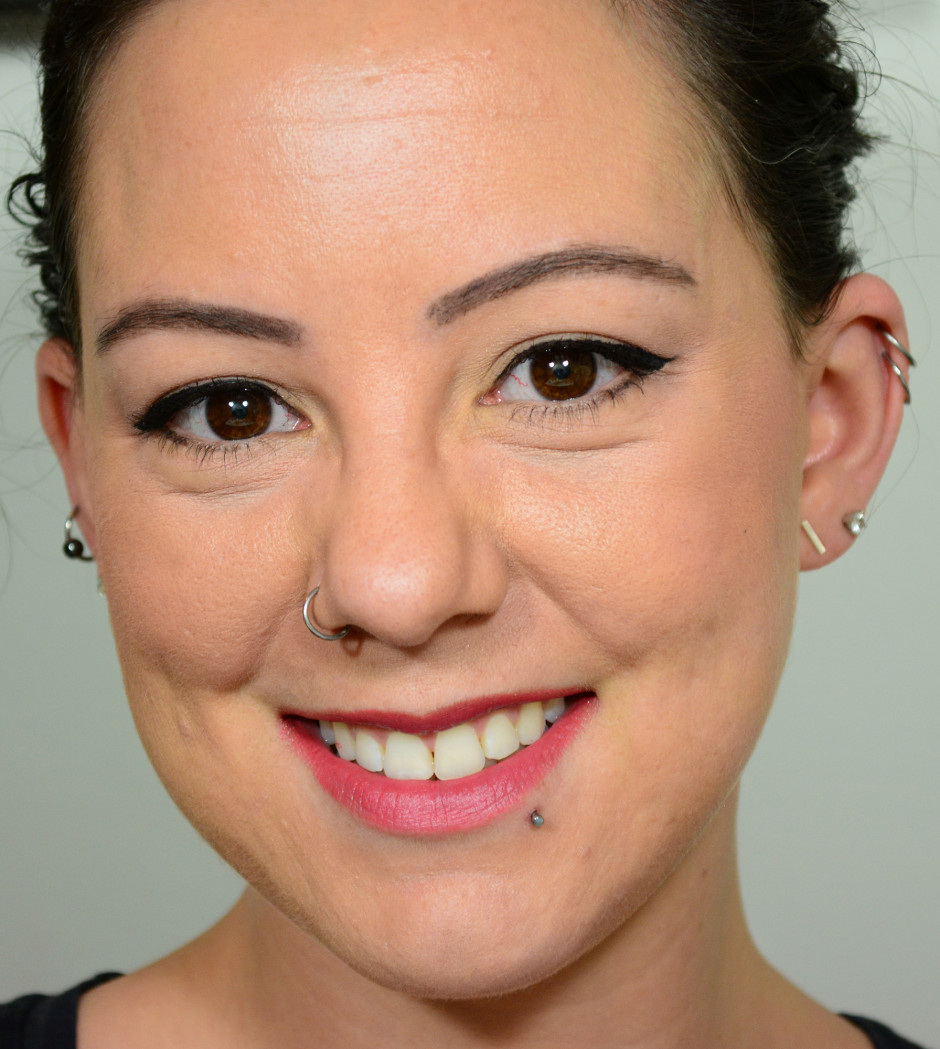
If I hadn’t watched the how-to videos on the Dinair website I might have been a little bit alarmed the first time I used it because you don’t actually see any of the product coming out of the nozzle. It’s an extremely fine spray that lets you gradually build coverage. Instead of foundation going on, it really looks more like uneven skin tone is just disappearing. It’s definitely possible to get too much product in one place if you don’t move the airbrush around enough (or hold it too close, or have the air pressure too high), and I feel like overapplying makes my pores a little more noticeable. As in all things, moderation is key. Once you get the hang of it, the finish really is pretty flawless:
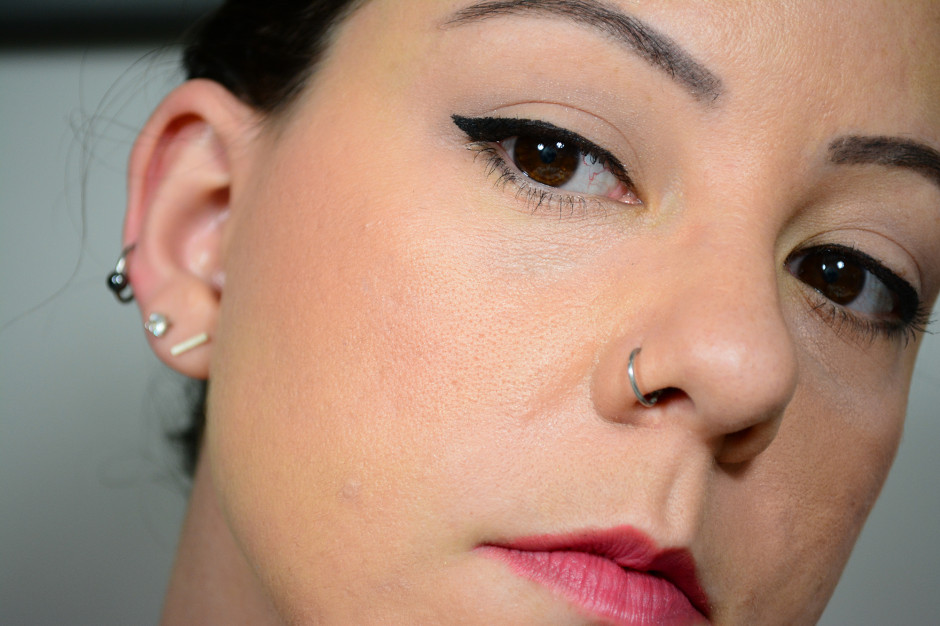 The wear time on this particular foundation (Colair Radiance) is very nice – not as long as some foundations, but it lasts through the workday with no problems. Note: I haven’t tested this in the summer, so I’m not sure how well it holds up to sweat and humidity. It sets very quickly, and is one of the most transfer-resistant foundations I’ve tried. The only thing I don’t love is that it settles into creases under my eyes, but I usually use concealer there instead of foundation anyway.
I haven’t been brave enough to try fancy stuff like eyebrows or eyeshadow yet, but I have done blush with the airbrush. It can be tricky to get right at first – the first couple times I went way overboard by accident. But again, after some practice you can get a really natural look.
To clean out the airbrush between colors, all you have to do is add a couple drops of water and spray out any remaining color until it runs clear. When you’re totally finished using it, you can add a mixture of cleaner and water to the cup and the nozzle cap. Let it soak until the next time you use it, and then spray it out before adding your new colors (duh).
In Short: Between color mixing and cleanup, using the airbrush does take longer than a traditional liquid foundation – so it hasn’t totally replaced regular foundations for me. It’s easy to use, has great results, and the endless color options are a huge perk. It’s a great thing to have if you’re a serious makeup hobbyist, and I could see it being a must-have for pro makeup artists.
The Dinair Personal Pro Kit ($199) is available from the Dinair website.
The Dinair Personal Pro Kit was provided by the company for review; the Designer Primary Collection was purchased by me. As always, all the opinions here are mine – I have more than enough of my own, I don’t need to use anyone else’s!


tirurit
December 28, 2014 at 12:46 pmFor some reason I thought that airbrush foundation outlasted traditional foundation. Weird!
Nikki
December 28, 2014 at 2:31 pmI think it just depends on your skin type. My skin gets dehydrated pretty easily, so it kind of soaks up the moisture from water-based foundations. It does work better for me with a hydrating primer.